Creating your first campaign
A campaign is one offer with a destination URL and a payout. Here's how to set one up, step by step.
Updated 2026-06-09
A campaign is the core unit of your network: one offer, with a destination URL publishers send traffic to, and a payout you owe them per result. This guide walks the create wizard end to end.
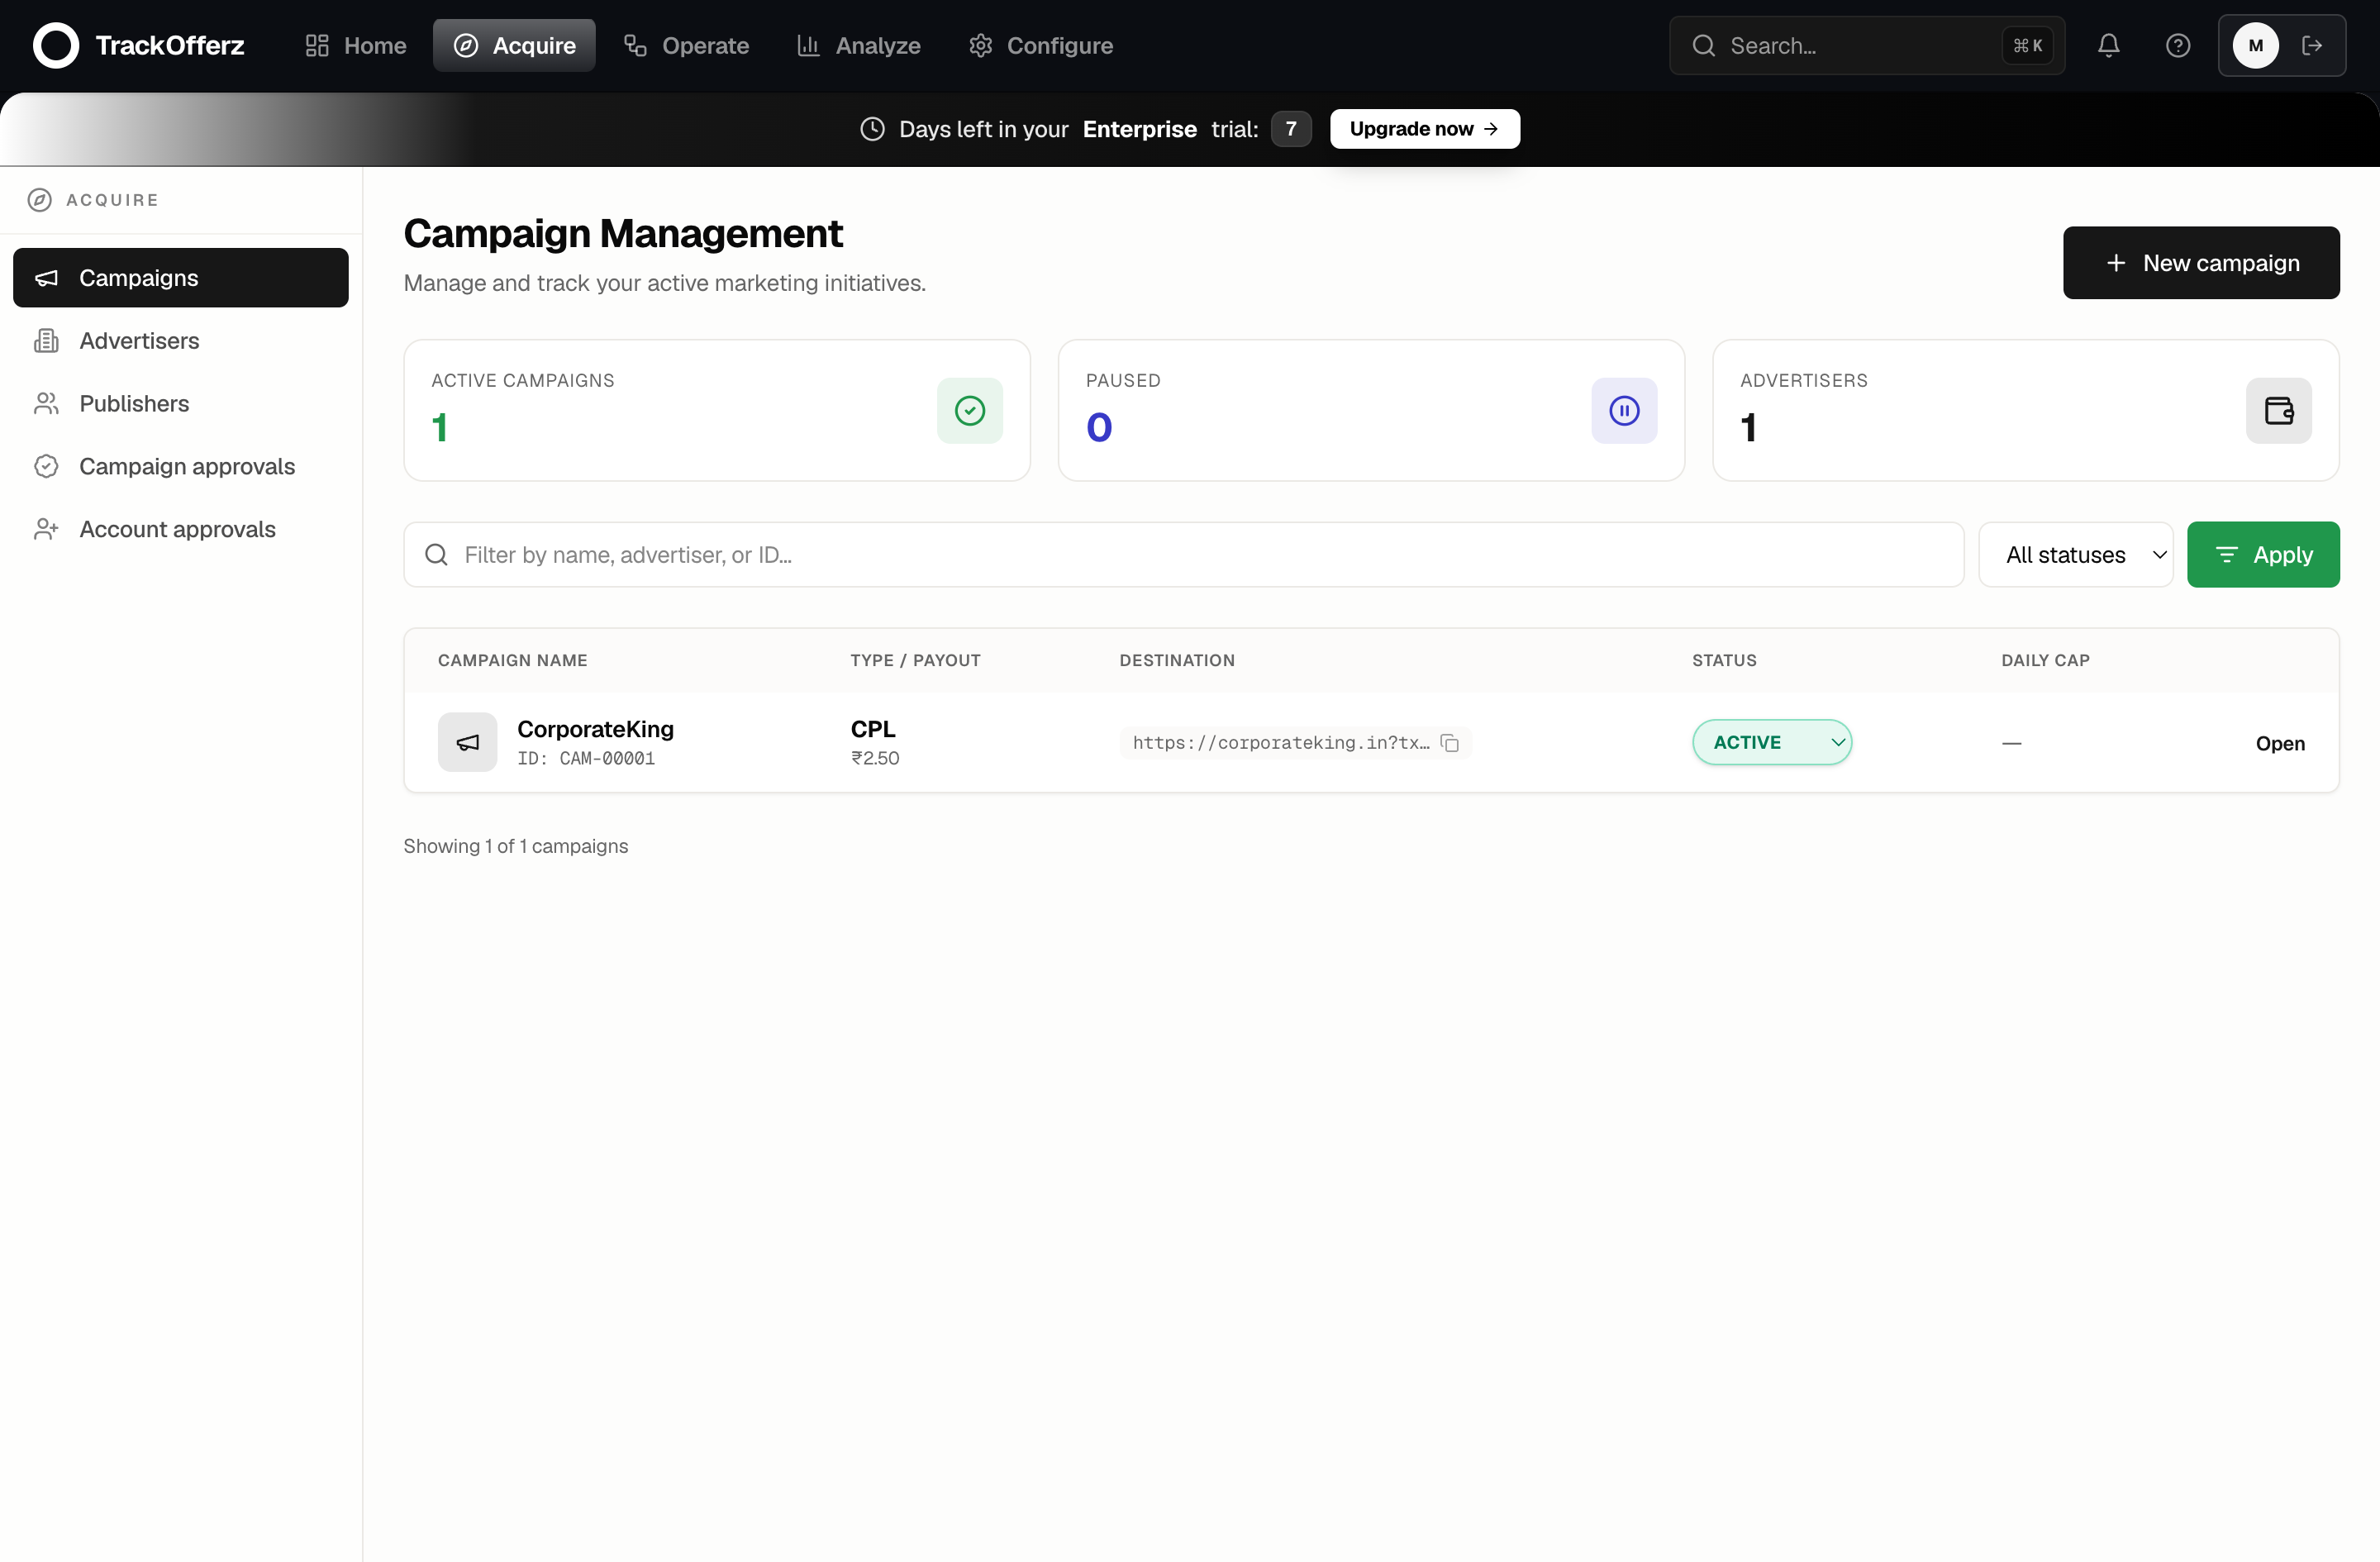
Start under Acquire → Campaigns, then click New campaign in the top-right.
The campaign wizard
Creating a campaign is a short guided wizard. You can move back and forth between steps using the stepper at the top; the panel only validates when you submit.
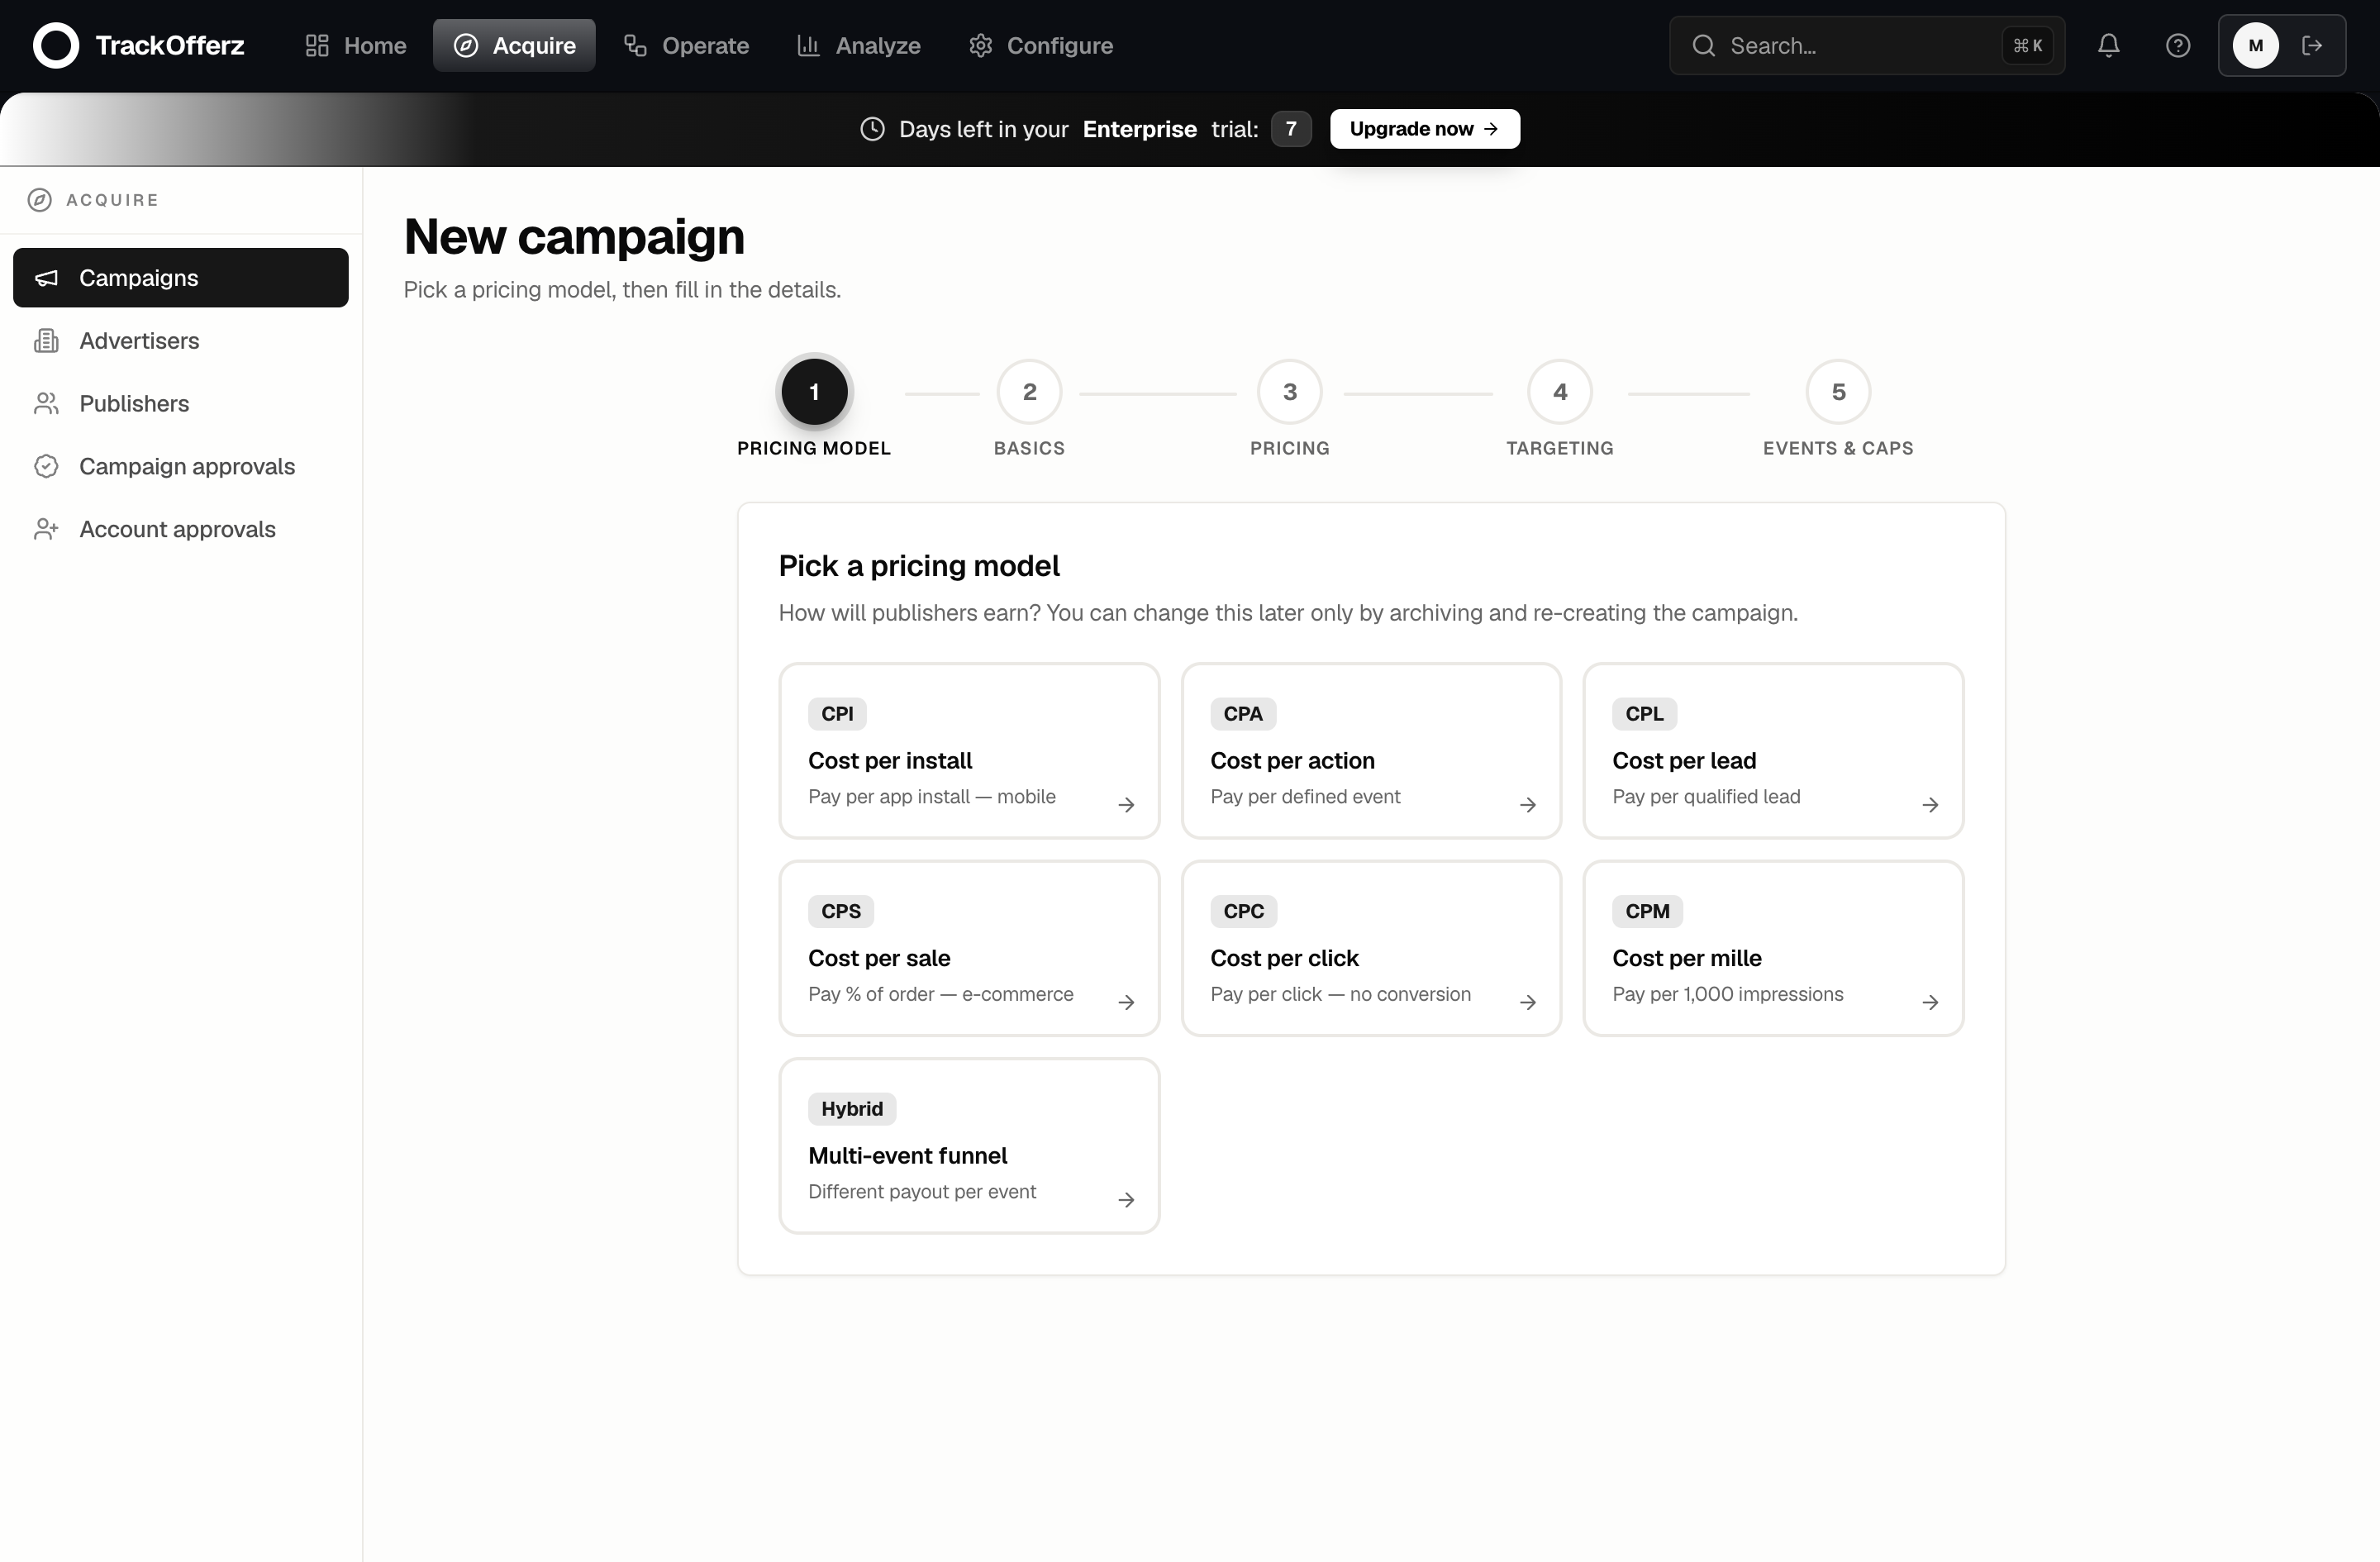
Step 1 — Pricing model
Pick how you pay publishers. This is the most important choice — it changes which payout fields appear later.
| Model | You pay per… | Common for |
|---|---|---|
| CPI — cost per install | Mobile app install | App campaigns (via MMP) |
| CPA — cost per action | Defined event | SaaS signups, leads |
| CPL — cost per lead | Qualified lead | Lead-gen |
| CPS — cost per sale | % of the order | E-commerce |
| CPC — cost per click | Click (no conversion) | Traffic arbitrage |
| CPM — cost per mille | 1,000 impressions | Display / branding |
| Multi-event funnel | Different payout per event | Multi-step funnels |
You can change a campaign's pricing model later only by archiving and re-creating the campaign — it's locked once traffic can flow. Pick the right one up front.
Step 2 — Basics
The identity of the campaign and where clicks go.
- Tracking domain — which host serves the tracking links. Defaults to your network's edge host; pick a verified custom domain if you have one.
- Campaign name — internal label, e.g. Winter sale 2026. Publishers may see this depending on visibility.
- Description (optional) — briefing notes, anything publishers should know.
- Advertiser — which advertiser owns this offer. Add one under Acquire → Advertisers first if the list is empty.
- Redirect URL — the landing page clicks go to. Use macros like
{click_id}and{pub_sub}so you can pass tracking data through:https://shop.example.com/landing?ref={click_id}&src={pub_sub}. - Redirect type — usually a 302. Leave the default unless you have a reason.
- Visibility to publishers — whether the offer is public to all approved publishers, or hidden until you grant access.
- Initial status — start as Paused if you want to finish setup before traffic flows; Active to go live immediately.
Macros in the redirect URL are how you pass click data to the advertiser's landing page. {click_id} is the one you almost always want — it's the key that ties a later conversion back to this click.
Step 3 — Pricing
Set the money. The fields here depend on the model you picked in step 1.
- Currency — the campaign's settlement currency.
- Revenue model — what the advertiser pays you.
- Default payout / revenue / revshare — what you pay the publisher. For RevShare this is in basis points (1000 = 10%); for CPA/CPL/CPI it's a fixed amount per result.
Your margin is the gap between what the advertiser pays you and what you pay the publisher — set payouts so it stays positive.
Step 4 — Targeting
Optional filters on who can convert. Skip this entirely to accept everyone.
- Operating systems and Device types — restrict to, say, iOS-only or mobile-only.
- Time targeting — only accept clicks during set hours/days in a chosen timezone. Useful for call-center offers.
Step 5 — Events & caps
Guardrails so a campaign can't run away from you.
- Daily click cap and Total click cap —
0means unlimited. Set a daily cap when you're testing a new traffic source. - Status — confirm whether the campaign goes live now.
Click Create campaign on this step to save. (Creatives — banners and links publishers can grab — are added afterward by editing the campaign.)
After you create it
Your campaign now exists but no one can send traffic to it yet. Next:
- Invite a publisher and approve them on this campaign.
- Verify the tracking with the click-test tool before going live.
- Watch results land under Reports.